Door Framing Layout Guide
A door framing layout defines where the door opening sits in the wall and how surrounding members carry load. Builders use this layout to set the rough opening, place king studs and jack studs, and verify header position before any cutting or assembly begins.
This guide explains practical door setout steps, common mistakes, and how to keep layout updates consistent when openings change late in the job.
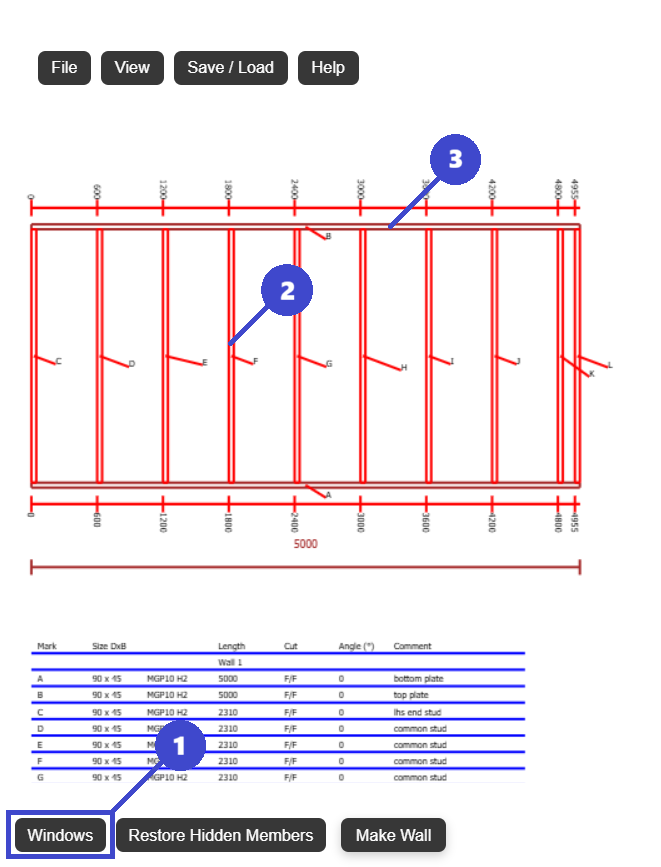
door framing layout
Rough opening setup and structural support around door openings.
Incorrect header or opening dimensions causing costly rework.
Create a clear, buildable opening that stays aligned with the wall plan.
What Is a Door Framing Layout?
A door framing layout is the instruction set for framing a door opening inside a wall. It defines opening dimensions, offset position, and required members so the wall can be built accurately and door installation can proceed without field changes.
Typical door layout details
- Rough opening width and height
- Door position from a fixed wall datum
- Header location and size check
- King studs and jack studs at each side
- Wall stud spacing impact near opening edges
- Notes for cladding, lining, and trim clearances
Why this matters
Door openings are high-traffic points where dimensional mistakes become obvious fast. Good layout avoids re-cutting members and prevents downstream alignment issues in finish trades.
Door Framing Layout Step-by-Step
A simple sequence used by many framing teams before wall assembly.
Confirm wall and opening requirements
Use the latest plan revision and confirm door type, required clearances, and rough opening dimensions before marking plates.
Set one reference datum for placement
Measure door offsets from a single wall edge. Avoid mixed reference points, which are a common source of layout conflict.
Mark top and bottom plates together
Mark plate positions in one operation so stud lines stay aligned during assembly and opening members land in the correct locations.
Add header and support studs
Install king studs and jack studs, then place the header to match span and design requirements. Re-check load transfer into adjacent framing members.
Run final opening and spacing audit
Verify rough opening dimensions, stud spacing near opening edges, and sheathing support before cutting and standing walls.
Common workflow bottlenecks
- Opening changes without full local framing updates
- Header adjustments not reflected in jack stud placement
- Mismatch between plate marks and drawing notes
- No check for board support at opening edges
Door Opening Layout Examples
Practical checks for typical door framing scenarios.
Single internal door in non-loadbearing wall
Internal partition walls often contain simple door openings that carry no roof or floor loads. In these cases the header can be smaller and framing typically consists of king studs, jack studs, and a lightweight lintel sized only to support the wall lining above the opening.
External door in loadbearing wall
Header and support detail becomes critical. Validate assumptions against local requirements and engineering if required.
Late door relocation
Re-check full opening zone, not just the moved line. This includes studs, header, sheathing support, and any adjacent junction details.
Common Door Framing Layout Mistakes
These are the errors that most often cause rework and delays.
Wrong rough opening dimensions
Use manufacturer requirements, not assumed nominal size.
Missing or mis-sized header
Header design should match wall function and loading assumptions.
Incomplete support studs
King and jack studs must be correctly placed on both sides.
Mixed reference dimensions
Use one datum line to avoid inconsistent setout on site.
No final cross-check
Audit layout before cutting to prevent repeated changes later.
Using a Digital Tool for Door Framing Layout
Digital workflows reduce redraw work when door openings move or dimensions change. They also keep opening and support updates tied to one current wall model.
- Set door openings by exact offsets
- Update rough openings quickly as specs change
- Coordinate headers and support studs in one place
- Check layout visually before release
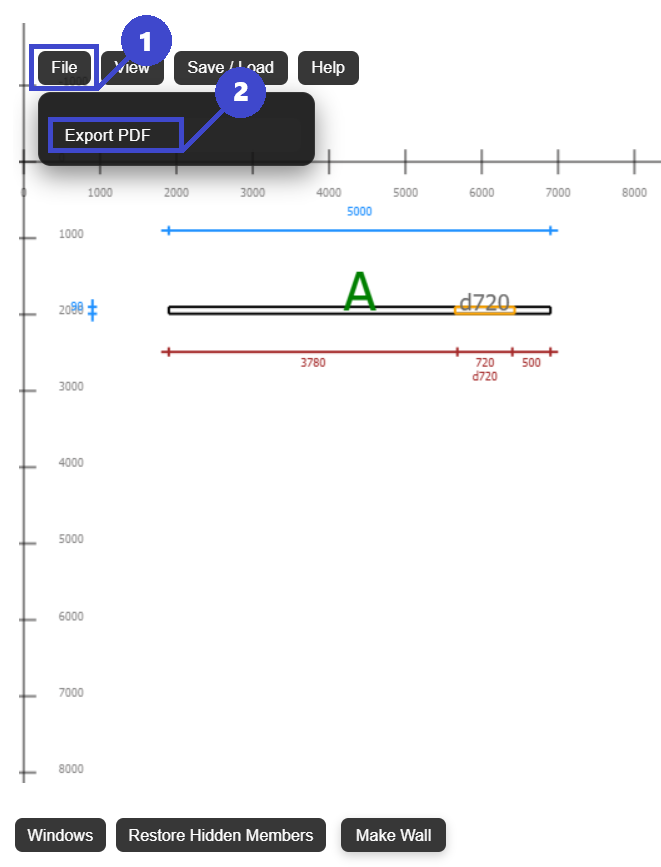
- Export current framing plans to PDF
FramingPlans helps teams manage opening revisions without restarting the full framing layout each time.
Why this improves delivery
When layout updates, support members, and exports are synchronized, crews are less likely to build from outdated notes.
Frequently Asked Questions
Quick answers for door framing layout decisions.
What is a door rough opening?
A door rough opening is the framed structural size needed for installation tolerance and alignment of the door unit.
Do all door openings need headers?
Many do, especially in loadbearing walls. Final requirements depend on local code and structural design.
Why are king studs and jack studs both needed?
King studs provide full-height support continuity, while jack studs directly support the header ends.
How do I avoid misplacing a door opening?
Use one datum reference, document offsets clearly, and verify plate marks before cutting material.
What is the fastest way to handle opening revisions?
Use a digital planning workflow so opening movement, support members, and plan exports update together.